YAY, wedding crafts!
We honestly have had to do a lot less crafting than I had been anticipating, but a WHOLE LOT of “diy.” Which, in my opinion, are totally different things.
Guestbooks are one of those things that you look at on Pinterest wedding boards even before you liked weddings, and thought, ‘hmm, that’s a cool idea.’ So obviously, there’s a LOT of pressure to pick something that fits your wedding and your life appropriately. I knew I wanted someone non-traditional (not a little white book with lines), but wasn’t sure if we likes space to write notes, or just names. Those two things alone can limit your options.
For example:
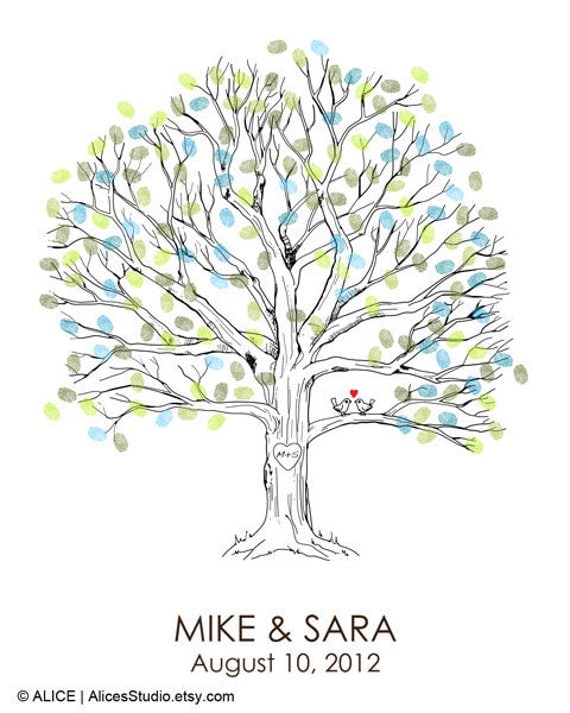 Although adorable, the thumbprint tree doesn’t allow for much writing besides names, if at all.
There were also things like an old mailbox and vintage postcards. But then, it’s like, what do I do with all the loose postcards? You can’t ever mount them or you’ll lose the backs of them.

Then more than that, there’s the cost. I adored instant photographs that are immediately added into a book. But it got a bit pricey, and I was concerned not many people would participate.
We liked the idea of people sharing where they were from, so we considered an individual cut-out of each state represented, but some were so unbalanced…and then what do we do with 10 foamboard states?
So this is what we came up with!
I wish I would have taken more pictures…Sorry!
Materials:
Foamboard of your color choice. We found a granite colored one at Hobby Lobby.
Paint of your choice
Paintbrush
Paint Pen
Sharpie
Projector
Pencil
A good looking guy that can do the hard things for you and reassure you when you break down.
1. Project a map of your choice (we got ours from that handy Google image search thing…) onto the foamboard. For whatever reason, my bonus dad owns a baby projector like this:

It’s not this one, but it is about this size.
So that was easier than we expected. DON’T FORGET TO TRACE THE STATES YOU WANT!
2. After tracing it, we primed it white a few coats before painting yellow, because…yellow.
3. Paint the top coat. We painted probaby 3 or 4, but didn’t use more than one little acrylic paint bottle.
4. Paint the states the other color!
5. Outline the border with paint pen. We had originally bought regular paint, but realized this would work much better. And I already had the paint pen on hand. #sororityproblems. Then add the event at the bottom…this is when i had a meltdown because the pen wasn’t cooperating. It’s fine.
I also DO have a picture of Justin doing this!:

6. I used a red Sharpie for the hearts and lines. I just free handed them to complete it!

So now everyone can sign essentially wherever they want, and we will have a nice art piece for our baby apartment, and all that for under $10!
Have you ever made a cheaper alternative that turned out better than you could have hoped?
Sparkle On,

